Recording with an IPad
 I have been recording spoken word for several years. Until recently I used a typical home studio setup with an audio interface connected to a laptop. When I first got my IPad 2 I was interested in discovering how many things I could do with it. Recording sound of any quality appeared to be a challenge.
As new accessories for the IPad became available I revisited the issue of using it as a very portable recording device. Conducting periodic online searches I discovered that Apple’s camera connector could be used to connect a USB microphone. I purchased an Audio Technica AT2020 and tried it with very good results.
There was still no way to connect other microphones with XLR connectors. Alesis produced a dock for the IPad that acted as an interface but I waited, wondering what new products might be in the works.
Recently, a new device, the IRig PRE became available. This is a small, relatively inexpensive interface that serves one purpose, it allows you to connect an XLR cable to the headphone jack of the IPad.
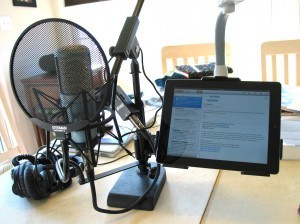
The image to the right shows a recording set up  I have put together using my IPad and the IRig PRE. The mic is an AKG Perception 220, the pop filter is the Stedman ProScreen XL and the IPad holder is by K&M. All are supported by a heavy duty microphone stand, providing a complete recording set up that does not occupy a lot of space.
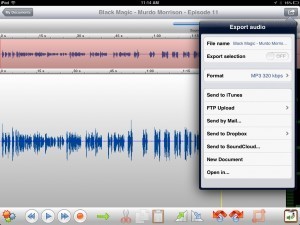
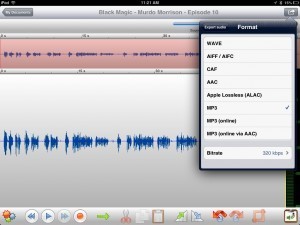
There are a number of recording applications available for the IPad including a version of Garage Band. The application that I use most often is Twisted Wave. Twisted Wave offers a number of editing features and allows you to export sound files in a variety of commonly used formats to a number of destinations.
These images illustrate some of the features of Twisted Wave including export options and file formats.
Twisted Wave works well for the type of recording I usually do. I suggest that you look at what is available and choose one that meets your recording needs.
Murdo Morrison
I am a writer, podcaster and staff member at Podioracket.com.


